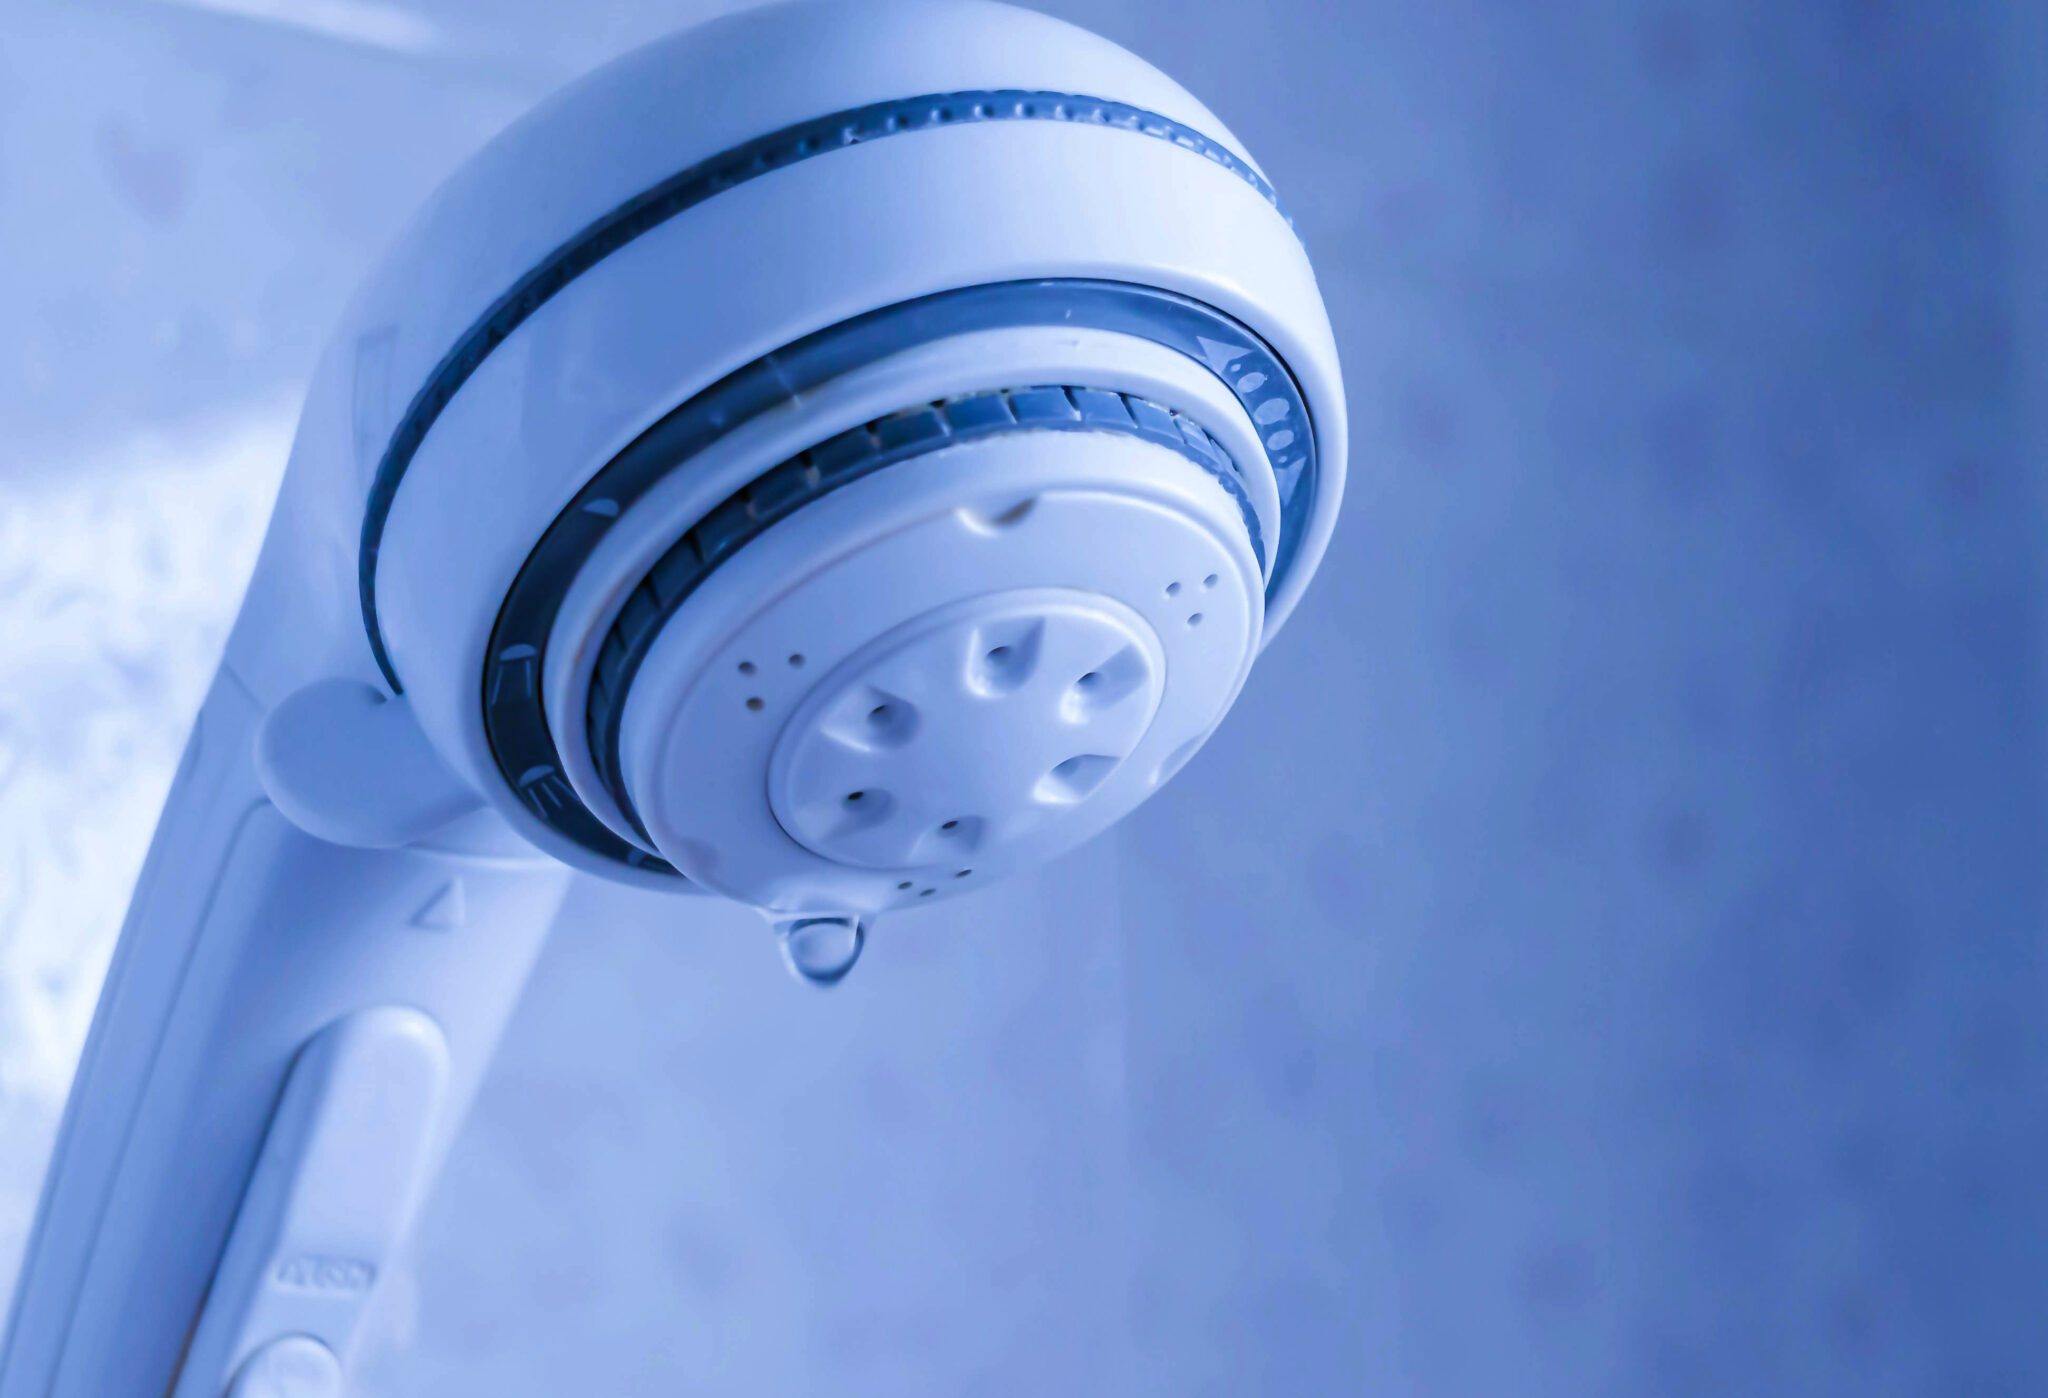
Trying to take your refreshing hot or cold shower but noticed that it’s leaking? It’s important to know how to fix a leaking shower head to avoid further problems or from it becoming worse. In this blog post, we discuss why your shower head is leaking, the tools and materials you need to repair it, and what steps you should take to fix it. We’ll also explore when it’s time to get professional help.
Why is the Shower Head Leaking?
There could be a whole variety of reasons why your shower head is leaking
- The most common reason for a leaking shower head are mineral deposits or corrosion due to hard water. These minerals build up inside the valve and cause leaks in the valve seat or spout, in which case you will also need to clean the shower head.
- Another common cause of leaks is worn out O-rings or seals that no longer provide a tight seal between parts.
- A third culprit could be high water pressure which leads to excessive wear on components like valves, washers, gaskets and more.
Tools/Materials Needed
To fix your leaky shower head you will need some basic tools such as adjustable pliers, screwdrivers, pipe wrench and slip joint pliers. You will also need some replacement parts such as O-rings or washers. And grab some anti-corrosion lubricant if you have noticed corrosion around your fixtures or pipes. If necessary, you can purchase specialty plumbing tools at most hardware stores.
How To Fix a Leaking Shower Head
Turn the water supply off and then disassemble the shower head
Let’s now get into how to fix a leaking shower head.
- Start with shutting off the water supply line that feeds into your bathroom by turning off both hot and cold water lines.
- Once you turn off the water supply, start disassembling your fixture and replace any worn out rubber parts, shower valves, washers or O-rings.
- If your shower head is old, there may also be build up in the holes which can be solved by soaking your shower head in white vinegar for 8 hours.
Getting Professional Help To Fix a Leaky Shower

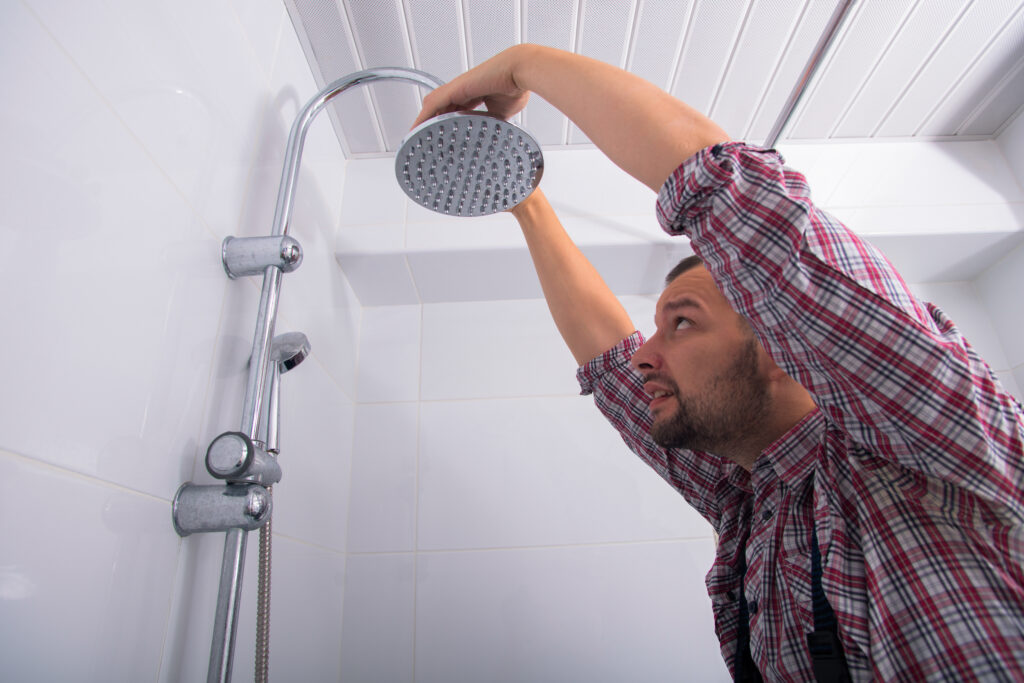
Professional plumbers are a great easy option if your shower head still leaks
If you’re unable to repair the leaking showerhead yourself or if it continues to leak even after attempting repairs, get professional help from an experienced plumber. A good plumber will know what’s needed to stop leaks and will also identify any other issues causing the problem. They will also be able to see if your replacing the shower head is necessary.
Fix That Leak!
Understanding the root cause of your leaky showerhead and taking appropriate steps to repair it can save you time and money in the long run. If all else fails or if you’re not confident in fixing the problem on your own, call an experienced plumber. With these tips in mind, we hope this blog post on how to fix a leaking shower head has been helpful as you tackle that pesky dripping sound from your bathroom! And if you need bathroom products to fix your showerhead, head to MyHomeware today!
FAQ
How do I know if my shower head is leaking?
Check the base of the shower and plumbing fixtures for visible signs of wetness or discolouration. You can also run a test by turning on the hot and cold taps in the shower. If you notice drops coming from anywhere other than directly from the nozzle, there is a leak.
What are some common causes of shower head leaks?
- Shower faucet leaks are usually caused by faulty washers, seals, or O-rings, which can come loose and require replacing or tightening.
- Sometimes the O-ring in the shower head needs to also be resealed with plumber’s tape, silicone grease, or a new sealant.
- Pipe connections can also come loose due to wear and tear.
- Finally, the build-up of sediment in the shower head can cause it to leak; this issue can easily be resolved by regular cleaning and flushing of your pipes as part of your shower cleaning routine.
How can I prevent my shower head from leaking?
- Check the shower head for damage or signs of wear and replace any bad parts.
- Use a thread sealant tape or waterproof sealant patch around the threads connecting the shower head to its connection points in order to ensure a water-tight fit.
- Make sure that all pipe joints are securely tightened and free of rust buildup as this could cause leakage.
- Replace parts regularly in order to keep them functioning properly and prevent leaks.