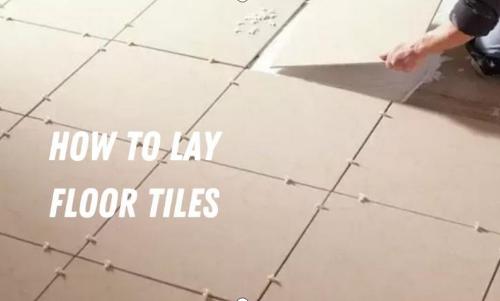
The task of how to lay floor tiles can be somewhat challenging, but it is one that can be accomplished with enough time and preparation. Whether you’re renovating the bathroom, the laundry room, or any other room in your house, learning how to install tile is a valuable skill. Especially if you’re new to floor tiles, you might need some help to lay tile flooring. Let’s discover how to tile a floor for beginners.
Tools Needed
No matter to answer the question of how to tile a kitchen floor or how to lay floor tiles in bathrooms and before you start the tiling steps, you have to know what tools you’ll need. Here are the most important tools you’ll need to install tiles.
- Bucket
- Mixer
- Tile cutter
- Rubber mallet
- Safety glasses
- Grout float
- Floor tile adhesive
- Floor tile grout
- Grout finishing tool
- Angle grinder
- Dust mask
- Notch trowel
- Spirit level
- Pencil
- Sponge
- Tape measure
- Trowel
- PVA adhesive
- Masking tape
- Adhesive tape
- Tile spacers
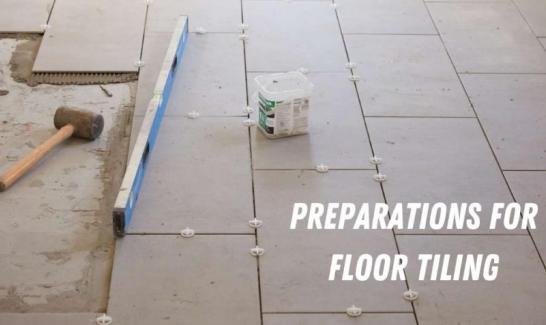
Preparations for Floor Tiling
Before you start to lay floor tiles in bathrooms, kitchens, or other rooms, it is essential to ensure that the surface is properly prepared.
- Find out how high your subfloor is and how high the floor next to it is
- You should also ensure that the floor is dry and clean.
- Do not make small cuts in the tiles.
- For the bathroom, laundry, or any wet areas, ensure that the slope is maintained so that water can flow out.
How to Lay Floor Tiles
Floor tiles can be laid on any surface from concrete and wooden floorboards (if you utilize a super flexible adhesive) to even floor tiles that are already in place. However, you need to assure that the surface is properly prepared and in good shape. So no matter whether you are looking for a guide on how to lay floor tiles on concrete, floorboards, or timber floors, the steps below can be generally applicable.
Step 1: Mark the Center and Apply Adhesive
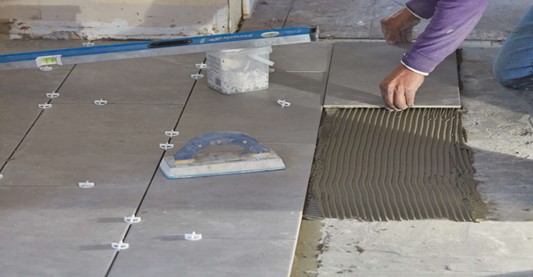
Use a pencil to mark the center point of your room. You can use a spirit level, but if you don’t have one, a ruler and tape measure will work just fine. Then, get started at the previously marked area, put adhesive to the surface using a gauging trowel, then spread it over a 1m² area utilizing a notched trowel. Apply the tile adhesive to the floor using the smooth side. Pull the serrated edge back to make ridges.
Step 2: Cut the Tile
Because floor tiles are heavier and sturdier than wall tiles, they must be cut using a heavy-duty cutter. Put on safety gloves and goggles, then use an electric or flatbed tile cutter to cut the marked line. After cutting, polish any remaining jagged edges with a tile file.
Step 3: Put the Tile
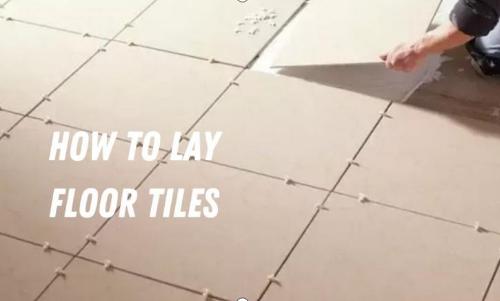
Put the first tile solidly and twist it to make sure it’s bedded to the adhesive. Continue with the subsequent tile and use tile spacers to make sure they’re all the same distance apart. If you think it’s not fit, you can make small adjustments with tile nippers and a tile file.
Step 4: Check the Flatness
Check the flatness of the tiles using a spirit level on a regular basis. If they aren’t flat, tap them softly with a rubber mallet.
Step 5: Wait for the Fully Set
When all tiles are in place, you must wait up to 48 hours for the adhesive to fully set before you can walk on them.
Step 6: Fill the Spaces
Take measurements and cut tiles to fill spaces between the final tile and the wall. The best way to accomplish this is by placing the tile that must be cut above the whole tile next to the wall. Mark the tile below with a tile marker, leaving enough gap for grouting. Fill the tile joints with grout will ensure that no water seeps in and cause damage.
Step 7: Cleaning Up the Grout
Once the grout is dry, use a damp sponge to remove any excess residue. Make sure to go over it several times to ensure that all of the grout is gone. Then it’s done but keep it for at least a few hours for tiles and grout to stay solid before you use them as often.
Floor Tiling Tips
Please follow the following tips for floor tiling on any surface.
- Begin in the middle of the room. This helps ensure the tile is evenly centered.
- Practice your layout first. Lay out some tiles in the middle of the room and make sure they look even.
- Maintain a level surface. Use a level to make sure the tiles are even and that they slope out toward the walls.
- Maintain the gap equal. Fill the gaps between tiles with a grout that matches your tile color. Use a rubber float to press it into all of the spaces and wipe off any excess.
Conclusion
Learning how to lay tile flooring is not easy, but that doesn’t mean you can’t give it a try yourself. Floor tiling DIY is cheaper than hiring pros. You can use the money to buy items for the bathroom or the kitchen. MyHomeware provides all kinds of quality bathroom items and kitchenware. Get high-quality products from MyHomeware at a reasonable price.
FAQ about How to Lay Floor Tiles
Tiles installed horizontally and to the ceiling can make a room look bigger. This layout is great for rooms that are tall but narrow. Due to this layout, the room seems wider, more open, and larger in both dimensions (width and depth, but not height). Meanwhile, putting tiles in a vertical pattern makes the ceilings look higher, but the space will appear smaller.
Start tiling from the center of the room and go outward. The first thing you need to do when laying out tile is to create a guideline or a layout line, it will help you to ensure that the tile pattern is centered. Use a tape measure to measure the room’s four walls and find the midpoint.
It depends on many factors like how much prep work is needed, the type of tiles, and local rates, which may bring the estimated cost to install tile floors to $7 to $14 per square foot. Installing a tile floor in a 10×15-foot room (150 square feet) will cost between $1,050 and $2,100.

