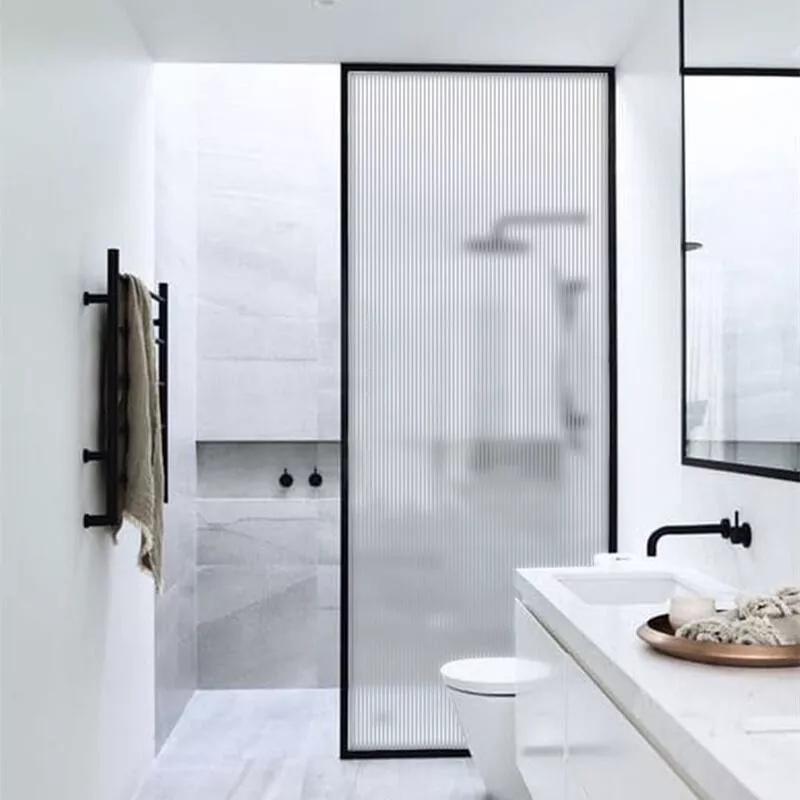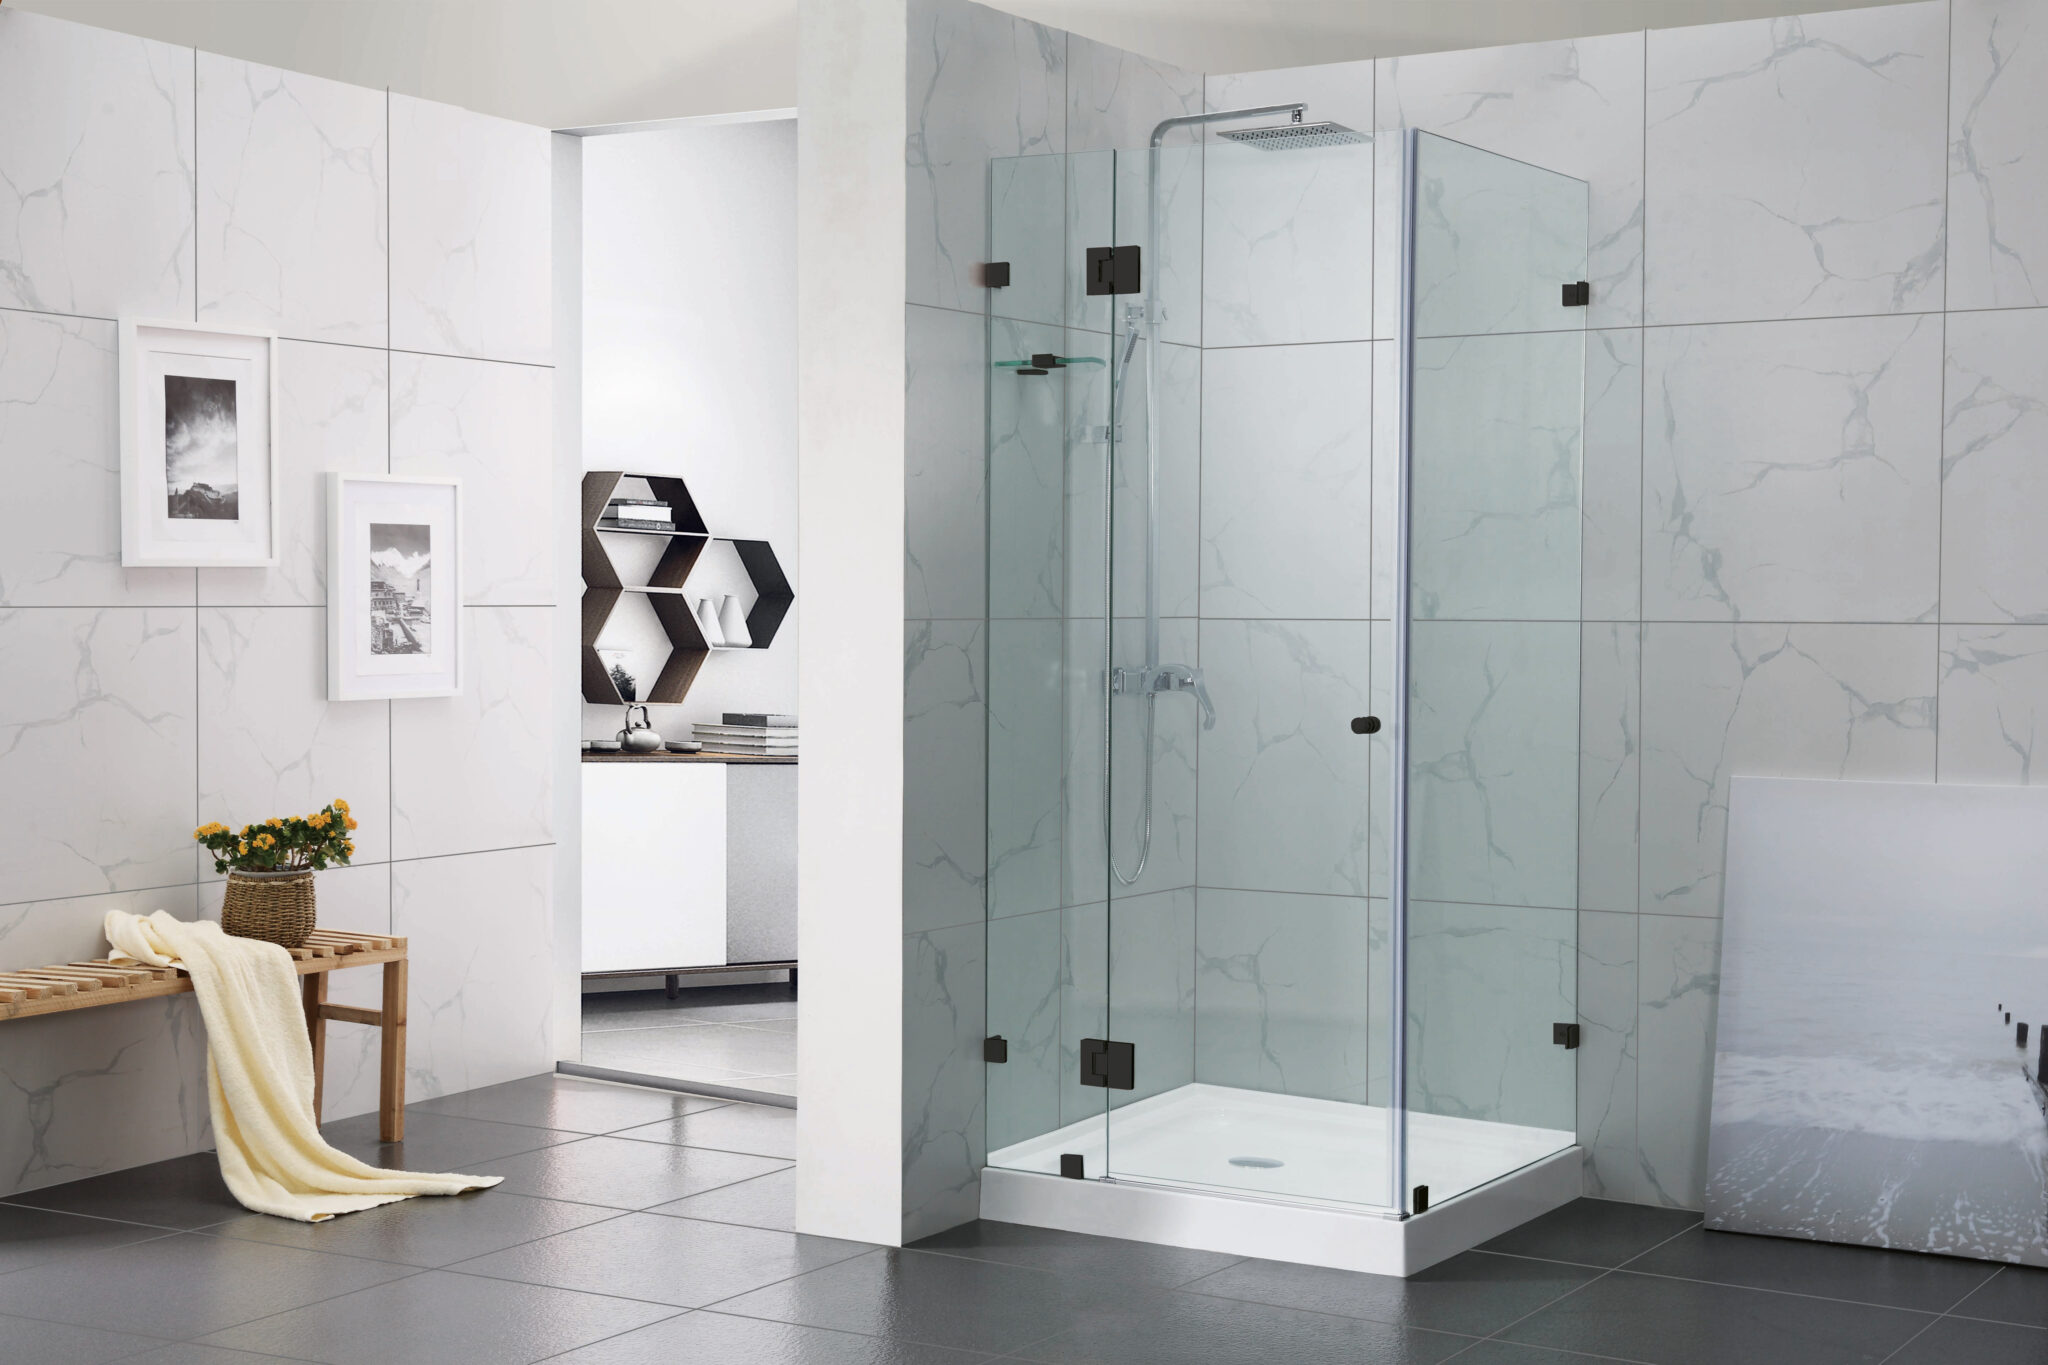
If you’re looking for a way to update your bathroom and give it a modern, streamlined look, a frameless shower screen might be just the thing. Not only do they look great, but they also offer several benefits over traditional shower screens. In this article, we’ll guide you through the steps to install a frameless shower screen in your bathroom.
How to Install a Frameless Shower Screen:
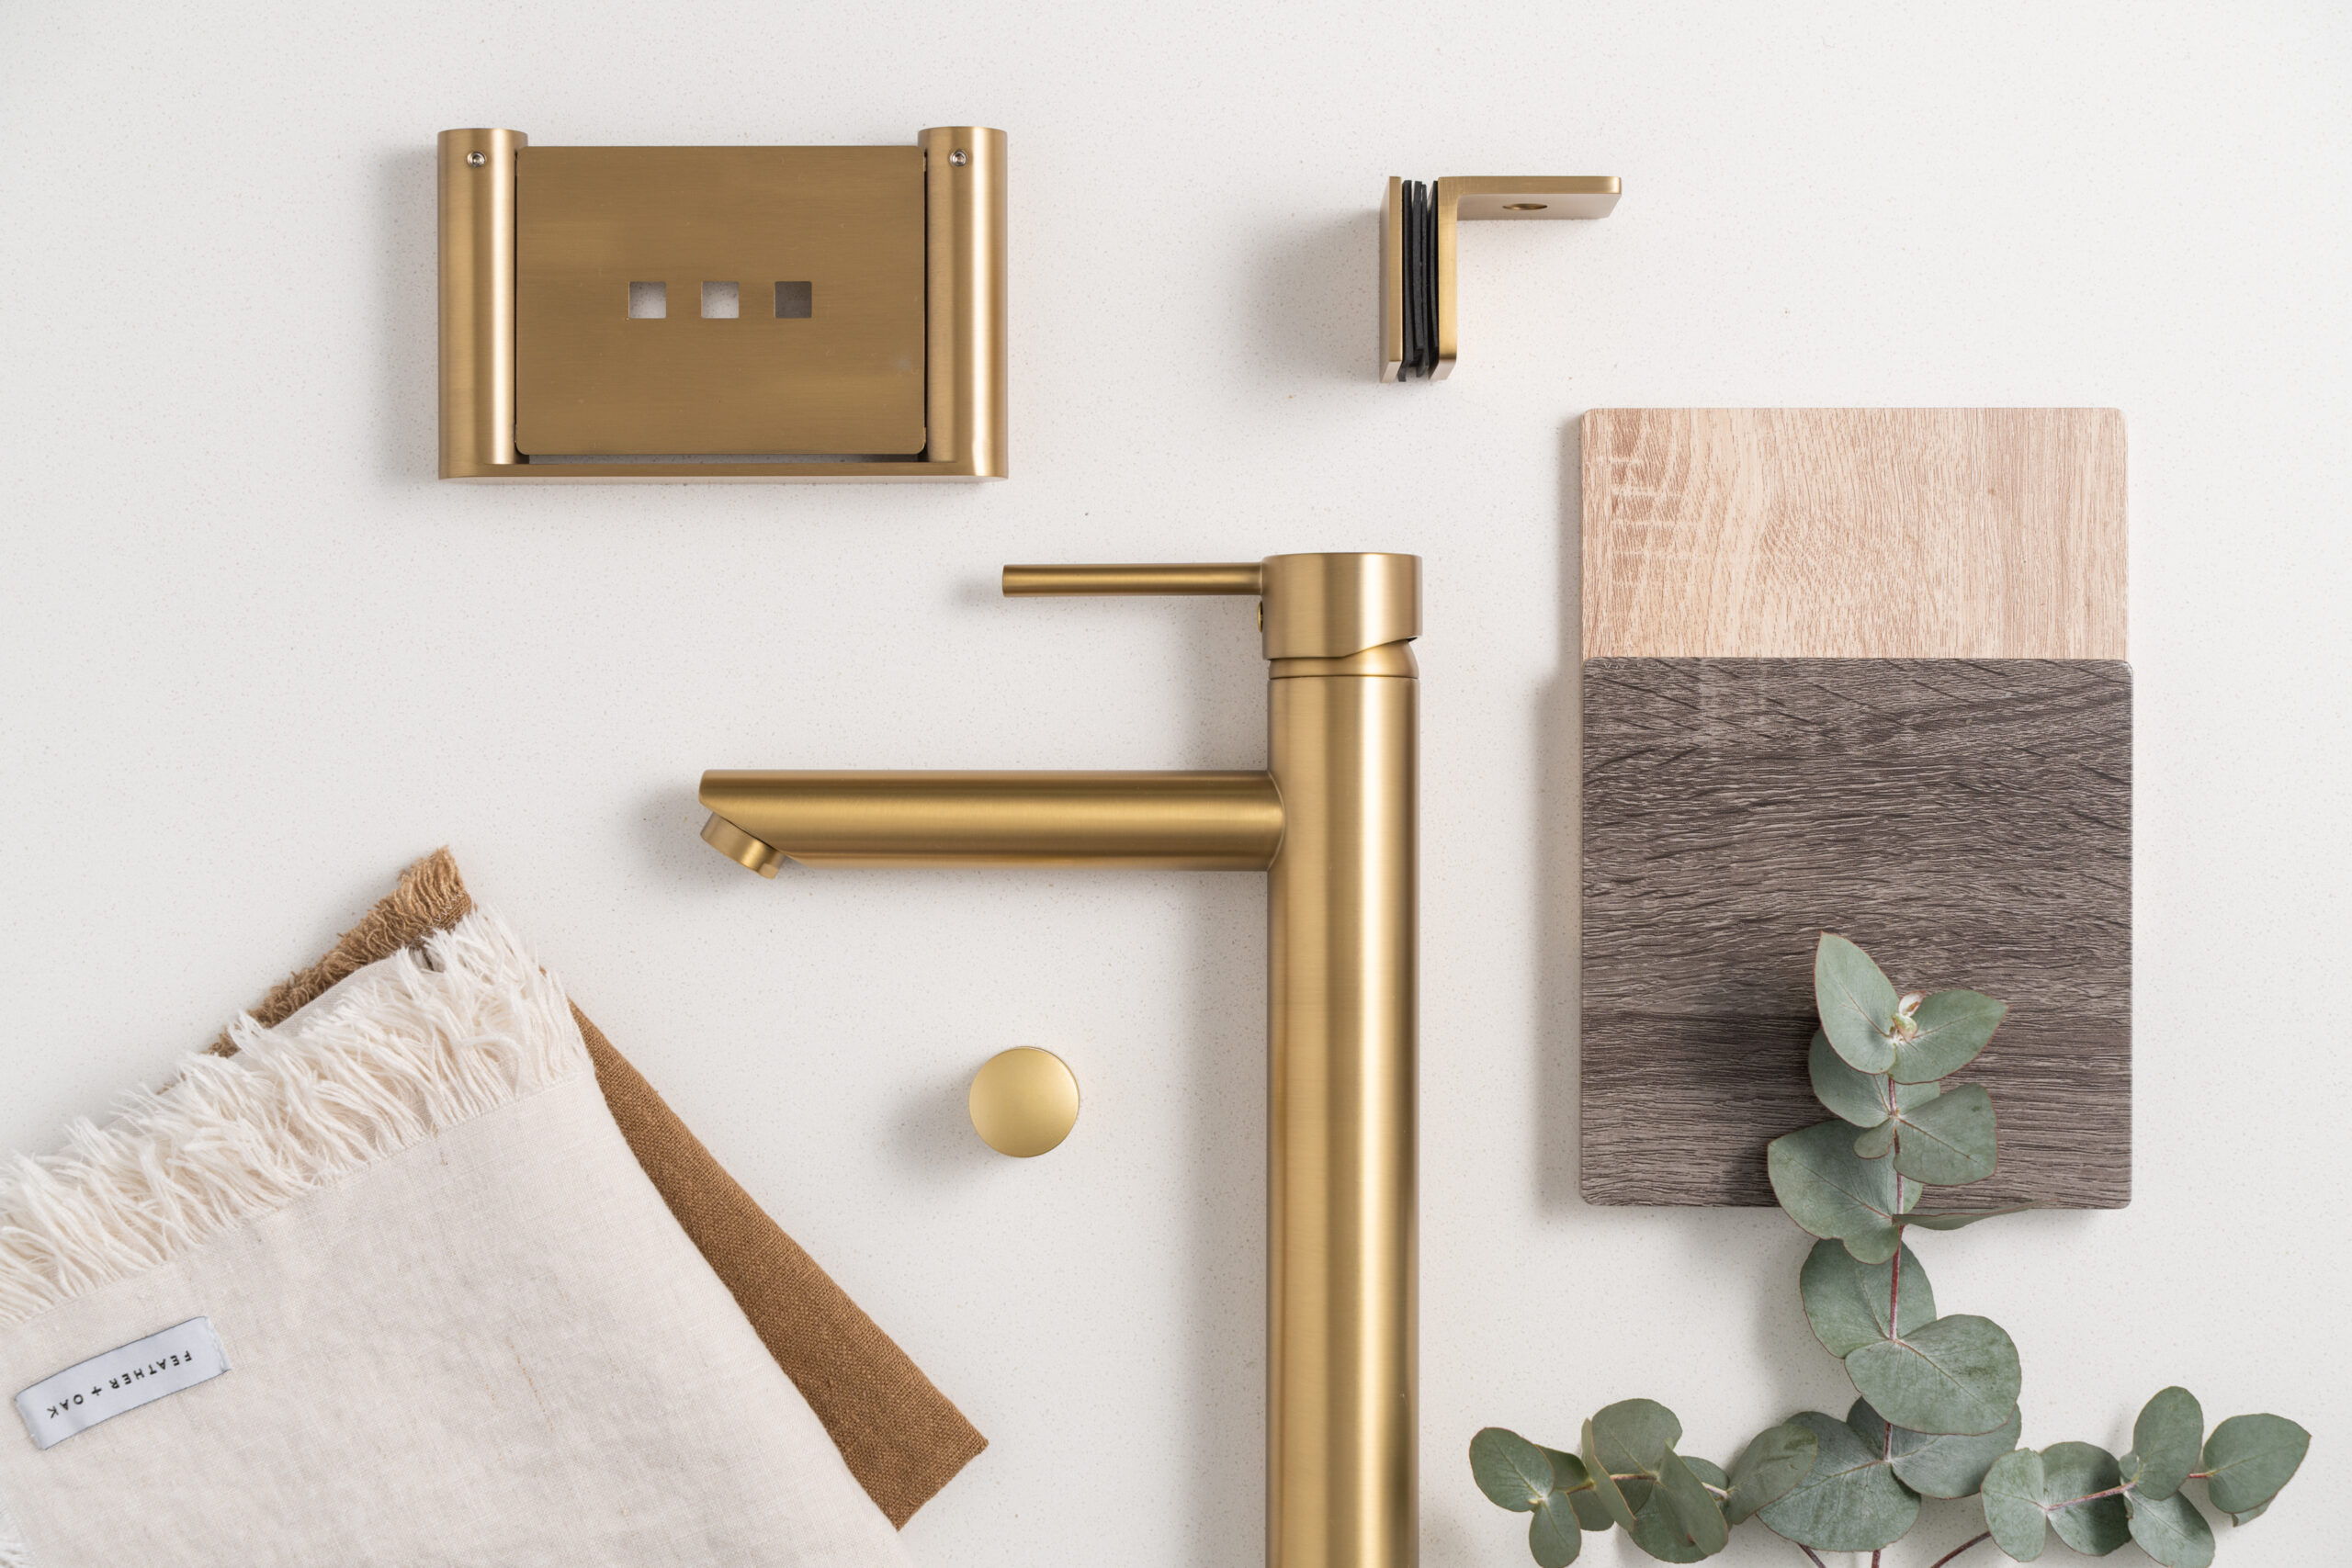
Before you start, make sure you have all the tools you need. You’ll need a drill, measuring tape, level, screwdriver, silicone sealant, and safety glasses. Here are the steps to follow:
Step 1: To start, please measure the area where you want to install the shower screen and mark the positions for the brackets.
Use a measuring tape to determine the height and width of the shower area, and take note of any irregularities or obstacles that may affect the installation process. Then, use a pencil to mark the positions for the brackets on the wall. It’s important to make sure the brackets are level and evenly spaced, as this will ensure that the shower screen is secure and level. Use a spirit level to check that the brackets are perfectly horizontal and level with each other. If necessary, adjust the position of the brackets until they are perfectly level and aligned. Once you’ve marked the positions for the brackets, you’re ready to move on to the next step – installing the brackets onto the wall.

Step 2: Install the brackets onto the wall using the screws provided. Make sure they are level and secure.
Make sure they are level and secure. Before you start, double-check the measurements and placement of the brackets to ensure they are positioned correctly. Use a level to ensure that the brackets are perfectly horizontal and level with each other. If the brackets are not level, the shower screen may not fit properly or may not close and seal correctly, leading to leaks.
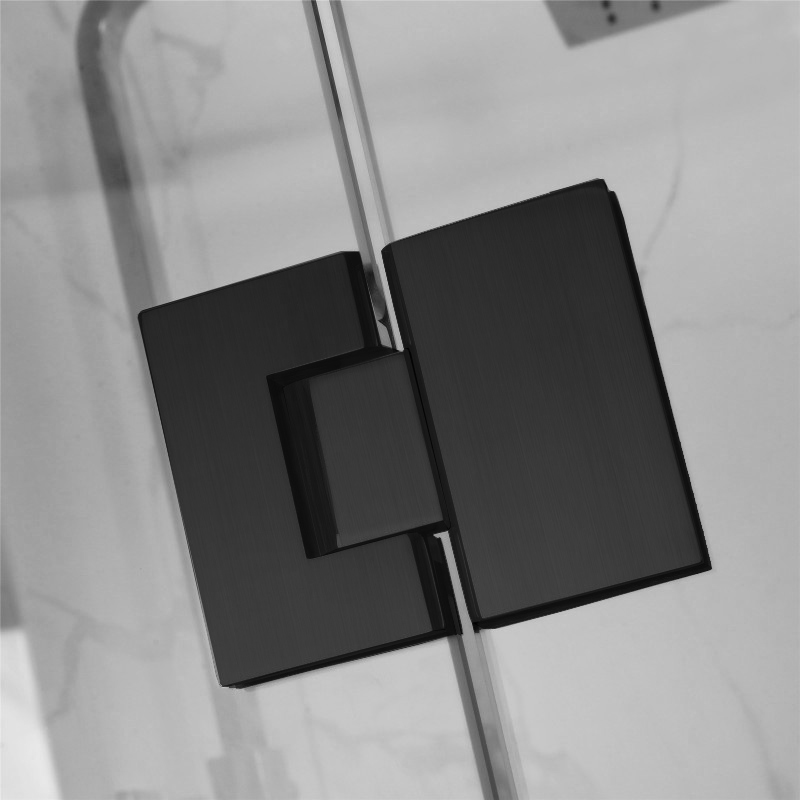
Step 3: Attach the hinge brackets to the shower screen, making sure they are evenly spaced.
Before attaching the hinge brackets, double-check the measurements to ensure they are placed at the correct distance apart. The manufacturer’s instructions should provide guidance on the appropriate spacing for your specific shower screen. Once you’ve determined the correct spacing, use a drill to make pilot holes in the shower screen where the brackets will be attached. Then, place the hinge brackets over the pilot holes and attach them to the shower screen using the screws provided. Make sure the hinge brackets are level and evenly spaced. Use a spirit level to ensure the brackets are perfectly aligned, as even a slight tilt can cause the shower screen to not close or seal correctly, leading to leaks. With the hinge brackets securely attached to the shower screen, you’re ready to move on to the next step – hanging the shower screen onto the wall brackets.
Step 4: Hang the shower screen onto the brackets and attach the hinges.
With the brackets securely attached to the wall, you’re ready to hang the shower screen. Start by lifting the shower screen up and carefully placing it onto the brackets. Make sure the screen is level and centered, and adjust the position if necessary. Next, attach the hinges to the brackets using the screws provided. Tighten the screws securely, but be careful not to over-tighten, as this can crack the glass. Once you attached hinges, test the shower screen to make sure it opens and closes smoothly. If the screen is difficult to move or doesn’t align properly, adjust the hinges until it operates smoothly. It’s important to ensure that the shower screen is level and secure to prevent leaks. With the shower screen in place, you’re almost done! The next step is to install the handle.
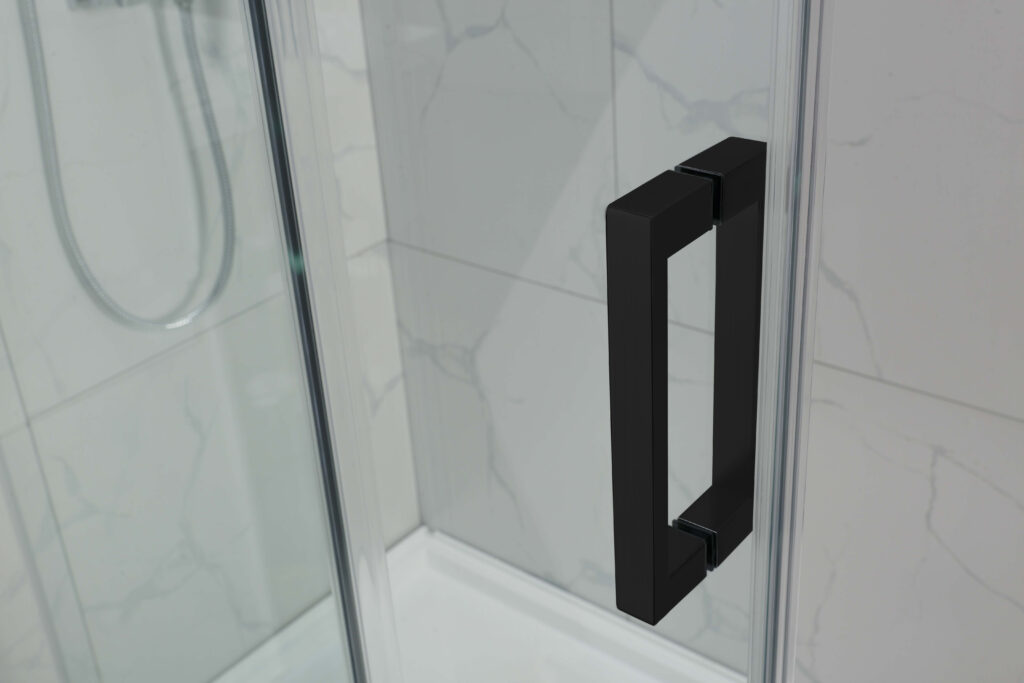
Step 5: Install the handle onto the shower screen.
Most frameless shower screens come with a handle that is installed on the inside of the door. To install the handle, first, check the manufacturer’s instructions to make sure you have all the necessary parts. Then, use a screwdriver to attach the handle to the shower screen door. Make sure the handle is level and securely attached. Test the handle to make sure it opens and closes smoothly. If the handle is not aligned properly, it can cause the door to not close or seal correctly, which can result in leaks. Adjust the handle as needed until it operates smoothly and securely. With the handle properly installed, your frameless shower screen is almost complete! Just one more step to go – applying silicone sealant to prevent leaks.
Step 6: Apply silicone sealant along the edges of the shower screen to prevent leaks.
Once your shower screen is in place, it’s important to apply silicone sealant to all the edges where it meets the wall and floor. This will create a watertight seal and prevent any water from leaking out of the shower. Use a high-quality silicone sealant and a caulking gun to apply a continuous bead of sealant around the edges of the shower screen. Smooth the sealant with a damp finger or a caulking tool to ensure it fills any gaps and creates a smooth, even seal. Allow the sealant to dry completely before using the shower. This usually takes around 24 hours, so be sure to plan accordingly. With the silicone sealant in place, your frameless shower screen should be completely waterproof and ready to use!

Tips for Frameless Shower Screen Installation
Be sure to follow the manufacturer’s instructions for installation. Then, double-check your measurements before drilling any holes. In addition, please use safety glasses when drilling or cutting glass. Before finishing, please remember to apply silicone sealant generously to prevent leaks.
Conclusion
Installing a frameless shower screen is a great way to update your bathroom and add value to your home. By following our step-by-step guide and tips, you can easily install a frameless shower screen in your bathroom.
FAQ
Do frameless shower screens need support?
Yes, frameless shower screens need support from brackets attached to the wall.
Do frameless showers leak water?
Frameless showers can leak water if not installed properly. Be sure to apply silicone sealant to prevent leaks.
Why choose a frameless shower screen?
Frameless shower screens offer a modern, streamlined look and are easy to clean and maintain.