Having a chipped bathtub can be an eyesore and lead to further damage if not addressed. Fortunately, fixing a chipped bathtub doesn’t have to be complicated or expensive. This guide provides step-by-step instructions on how to fix a chipped bathtub so that you can get back to enjoying your bathroom again.
Why do you need to fix the bathtub chip?
If you have a chipped bathtub, it is important to take action quickly. The longer the chip is left untreated, the more likely it will be open to further damage due to moisture and temperature changes. Plus, a chipped bathtub can be an eyesore that degrades your bathroom’s overall aesthetic. With the right tools and materials, you can repair your tub in just a few easy steps without breaking the bank!
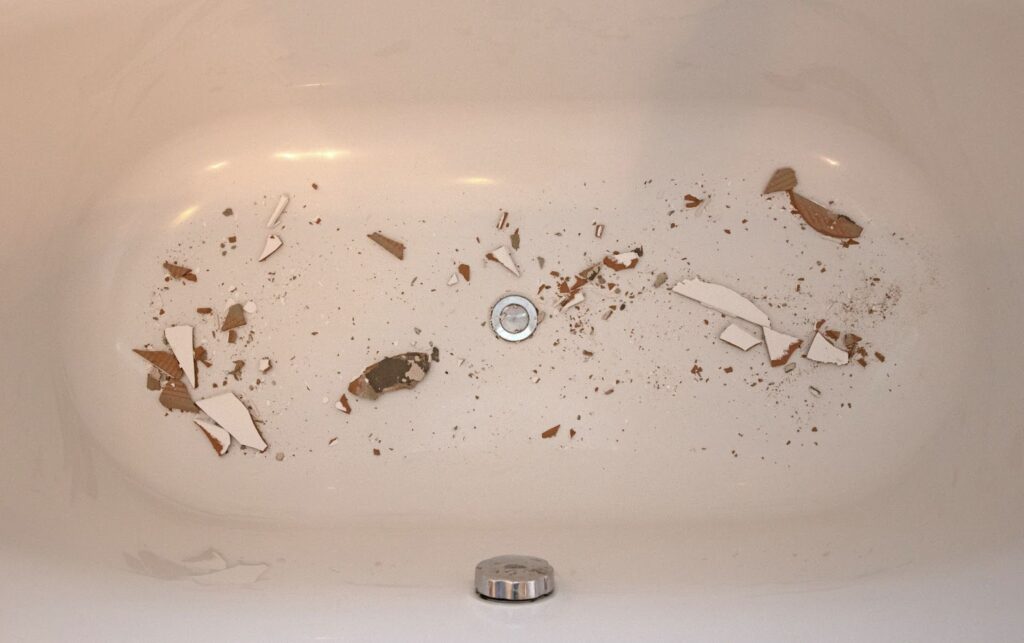
Chips will become a major problem if it is left untreated!
Tools and materials for bathtub chip repair
- Porcelain tub repair compound
- Sponge
- Painter’s tape
- Mixing stick
- Small paintbrush or plastic putty knife
- Ultra-fine sandpaper
- Spray bottle
- Bath polish (optional)
Step-By-Step Guide on How to Fix a Chipped Bathtub
Step 1 Colour Matching and Cleaning
The first step on how to fix a chipped bathtub is to find a repair compound that matches the tub’s colour.
For the repair compound to stick to the metal, the chipped area must be free of any contaminants. To do so, use a bathtub cleaner with a sponge or rubbing alcohol to clean the damaged area, then dry the area with a clean, lint-free cloth. Next, apply painter’s tape around the outside of the chip.
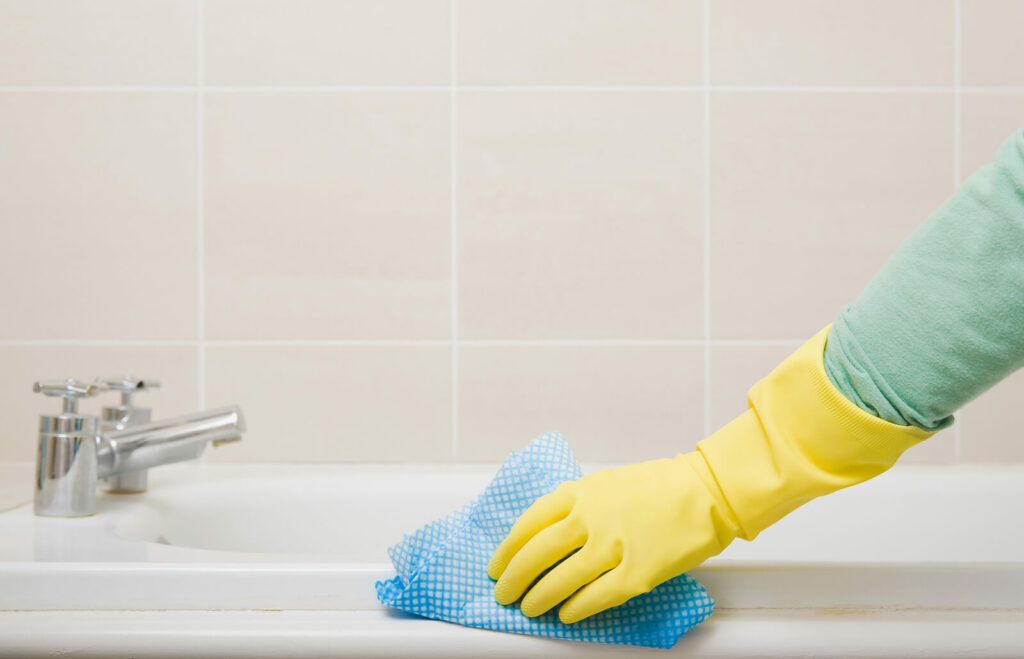
Always clean the surface of the damaged area before treatment!
Step 2 Mix the Compound
For one-part repair compounds, be sure to mix the Porcelain tub repair compound contents according to the bathtub repair kit instructions. For two-part compounds, open the Porcelain tub repair compound lids of both parts and apply equal amounts of the compounds onto a scrap piece of cardboard. Then, mix the parts together with the mixing stick until the compound reaches a consistent colour and consistency.
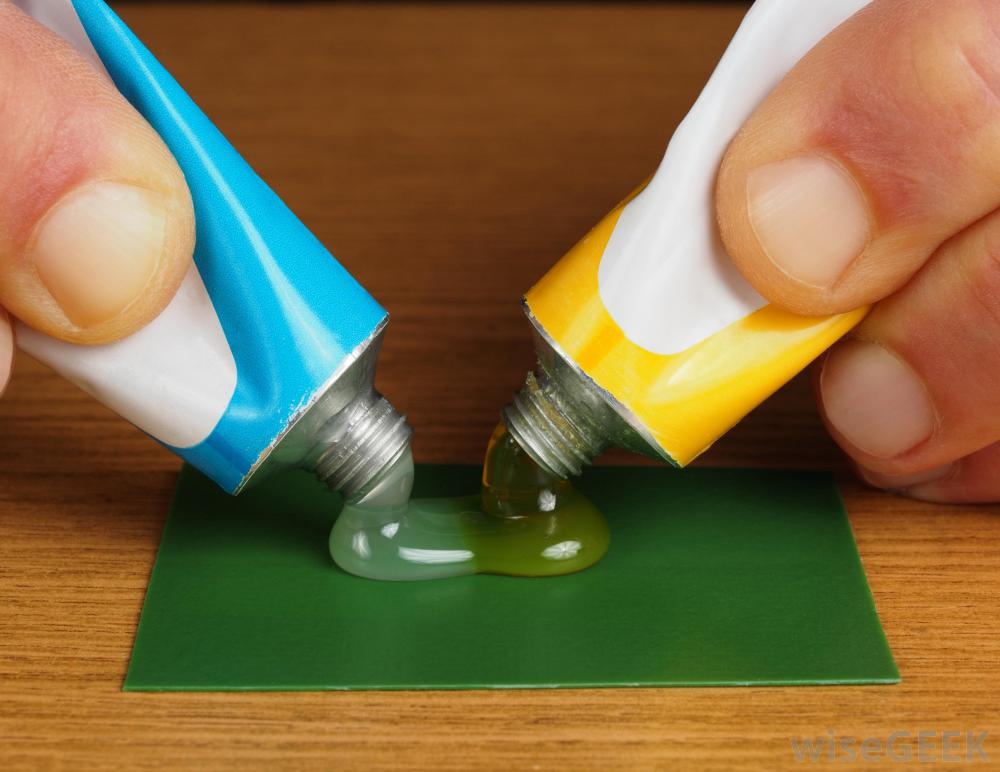
Mix the epoxy to form a smooth consistency to make application easier!
Step 3 Apply the Compound
Based on the consistency of the mixed compound, choose either a paintbrush or plastic knife to apply it. Apply a thin layer to the small chip.
Allow the first coat to dry. Then apply another thin coat and continue to repeat the process. The goal is to build thin layers of compound until the repaired surface is just slightly higher than the surface of the tub.
Step 4 Sand the Edges
The final step on how to fix a chipped bathtub is that once the repaired surface is dry and slightly higher than the tub, it is time to sand. Remove the painter’s tape and spray the dried area with a water bottle. Using fine sandpaper, sand the edges of the repair until it is levelled to the tub’s finish. Be sure to keep the sandpaper and repaired area wet with the spray bottle while sanding.
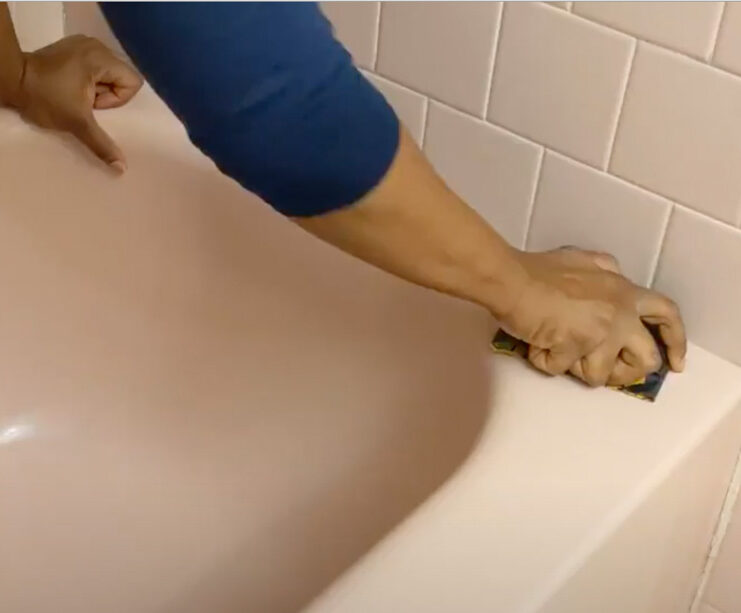
When the surface is dry, it is time to sand the surface!
Tips and warnings
Without treating your chipped bathtub will result in severe damage occurring to the flooring, under the bath and within supporting materials. Also, a chipped bathtub can lead to water leaks, which can cause the bathroom foundations to rot.
Frequently Asked Questions
Does repairing a chip in the bathtub require professional help?
It depends on the type of chip and the severity of the damage, but in most cases, it is possible to repair chips in a bathtub without a professional.
Do different materials and finishes require different methods of repairs?
Yes, different materials and finishes will require different methods to fix a chipped bathtub. For example, porcelain tubs will need to be patched with epoxy. While acrylic tubs need to be repaired by filling the chip with a special sealant.
Begone Chipped Bathtub!
Fixing a chipped bathtub doesn’t have to be complicated or expensive. Following this step-by-step guide on how to fix a chipped bathtub, you can quickly and easily repair your tub without breaking the bank. For more renovation tips, check out our blog page!